Grundsystem etherpad einrichten
Ausgangspunkt ist eine virtuelle Maschine mit Debian Stretch und allen wichtigen Updates, sowie der Aktivierung der Backports
/etc/apt/sources.list
## Uncomment the following two lines to add software from the 'backports'
## repository.
##
## N.B. software from this repository may not have been tested as
## extensively as that contained in the main release, although it includes
## newer versions of some applications which may provide useful features.
deb http://deb.debian.org/debian stretch-backports main contrib non-free
deb-src http://deb.debian.org/debian stretch-backports main contrib non-free
Hier installiert man schnell alle notwendigen Pakete:
# apt install gzip git python libssl-dev pkg-config build-essential
# curl -sL https://deb.nodesource.com/setup_9.x | sudo -E bash -<br># sudo apt-get install -y nodejs<br># git clone https://github.com/ether/etherpad-lite.git && cd etherpad-lite && bin/run.sh<Danach einen Benutzer anlegen (adduser) unter dem der eigentlich Server in Zukunft laufen soll.
# adduser patrick
Danach mittels mv die Dateien ins das Homeverzeichnis verschieben und mit chown die Dateirechte anpassen.
Da es bei mir erst einmal nur um ein Testsystem geht nutze ich später „screen“ um den Dienst zu starten. Daher noch
# apt install screenUm nun nicht immer die Software direkt anzusprechen schalte ich in meiner Konfiguration einen proxy zwischen, der auch zeitgleich noch die Seiten mittels eines lets encrypt-Zertifikates verschlüsselt.
Reversproxy mit lets-encrypt einrichten
1.Einrichtung eines Webservers
# apt install apache2 apache2-utils libapache2-mod-rpaf apache2-utils
# cp /etc/apache2/sites-avaible/000-default /etc/apache2/sites-avaible/etherpad.bloy.at.conf
Dort ergänzen in der eben kopierten Datei:
Servername etherpad.bloy.at
und die Seite aktivieren
a2ensite etherpad.bloy.at.confund einmal den Apache neustarten
#systemctl restart apache2Danach ist es möglich unverschüsselt über die neue Adresse die Apache Standardseiten aufzurufen.
2. Certbot einrichten
# apt-get install python-certbot-apache -t stretch-backports
# certbot --apache -d etherpad.bloy.at
Ab hier lassen sich die Seiten verschlüsselt abrufen.
Jetzt noch den eigentlichen Proxy einrichten
3. Proxy einrichten
#a2enmod ssl headers rewrite proxy proxy_http(nach: https://github.com/ether/etherpad-lite/wiki/How-to-put-Etherpad-Lite-behind-a-reverse-Proxy)
ProxyVia On
ProxyRequests Off
ProxyPreserveHost on

<Location />
ProxyPass http://localhost:9001/ retry=0 timeout=30
ProxyPassReverse http://localhost:9001/
</Location>
<Location /socket.io>
# This is needed to handle the websocket transport through the proxy, since
# etherpad does not use a specific sub-folder, such as /ws/ to handle this kind of traffic.
# Taken from https://github.com/ether/etherpad-lite/issues/2318#issuecomment-63548542
# Thanks to beaugunderson for the semantics
RewriteEngine On
RewriteCond %{QUERY_STRING} transport=websocket [NC]
RewriteRule /(.*) ws://localhost:9001/socket.io/$1 [P,L]
ProxyPass http://localhost:9001/socket.io retry=0 timeout=30
ProxyPassReverse http://localhost:9001/socket.io
</Location>

<Proxy *>
Options FollowSymLinks MultiViews
AllowOverride All
Order allow,deny
allow from all
</Proxy>
4. Absicherung mit ufw und fail2ban
apt install ufw fail2banipv6 aktivieren
(in Datei: /etc/default/ufw)
# Set to yes to apply rules to support IPv6 (no means only IPv6 on loopback
# accepted). You will need to 'disable' and then 'enable' the firewall for
# the changes to take affect.
IPV6=yes

# Set the default input policy to ACCEPT, DROP, or REJECT. Please note that if
# you change this you will most likely want to adjust your rules.
DEFAULT_INPUT_POLICY="DROP"

# Set the default output policy to ACCEPT, DROP, or REJECT. Please note that if
# you change this you will most likely want to adjust your rules.
DEFAULT_OUTPUT_POLICY="ACCEPT"
Mit STRG+O speichern.
ufw enable ssh
ufw enable "www Full"
ufw enable
Danach sollte das System relativ abgesichert sein und der Zugriff über Port
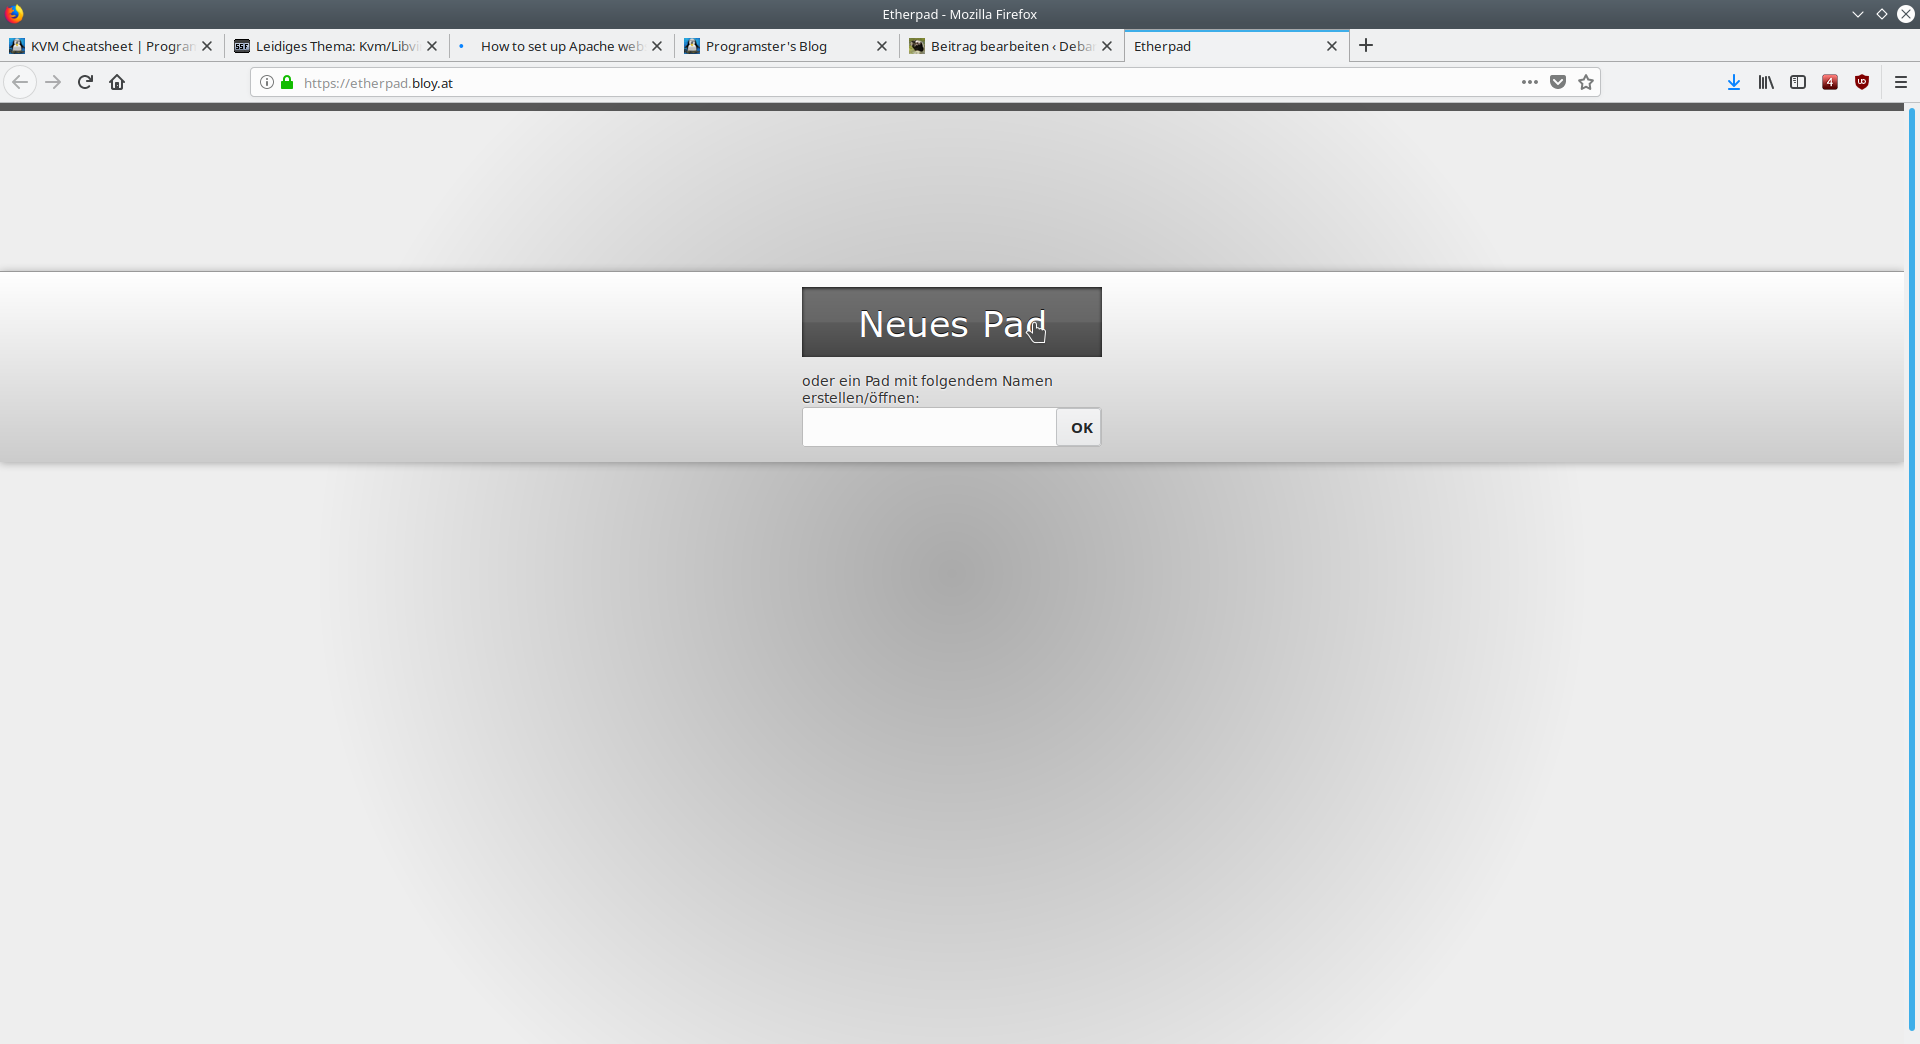 eigenes etherpad
Quellen